So, what we can do?
In short, we can scrape the missing data and do the analysis offline.
This approach is useful for one-off analysis projects. Let’s say you’ve just implemented the necessary tracking code changes for your content grouping but want a historic baseline, this is a useful method. It should not be used as a replacement for a properly configured tracking setup, nor will it mean you can fetch any historic behavioural data (obviously). We’re dealing strictly with content attributes here.
We’ll be utilising a web crawler like Screaming Frog to fetch the missing datapoints and match up this new data set against an export from GA.
A practical example
We’re going to use the Builtvisible blog.

Above, I’ve highlighted author, published date, and content category. With this information for all blog posts, we’ll be able to calculate how long content has been live for, whether certain categories drive more traffic, or – assuming the necessary event/goal tracking is in place – which authors are driving the most users to sign up for our newsletter (if you haven’t already, it’s pretty good…).
As I mentioned before, we are going to use Screaming Frog to crawl the site, utilising the Custom Extraction feature to pull in our new dimensions. First, though, we need to identify the on-page elements we require in a language which can be understood by our crawler.
There are 3 options to choose from: Regex, XPath and CSSPath. In the case of XPath and CSSPath, these can be used to extract the innerHTML, HTML Element, or text contents of the matching nodes. In this example, I’ll be using XPath.
If you would like to learn XPath, Builtvisible’s (other) Richard has put together a cracking guide for SEOs. I highly recommend learning basic XPath before you proceed!
To pull the category, I am going to look for the class associated with it by using the browser’s dev tools. Right click on the object, hit inspect element, and make note of the relevant class or ID.

At this point you can cheat by right clicking on the element in the dev tools and selecting Copy > Copy XPath, but this will almost always give you a very inefficient and error-prone selector. Far better to learn XPath properly and write a good expression!
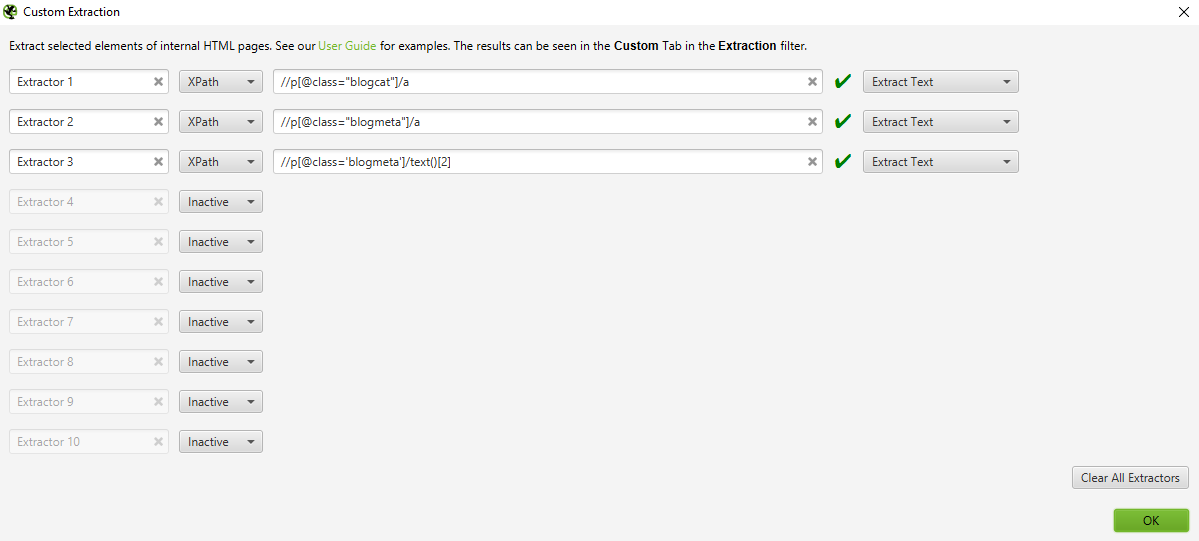
Here is the XPath expression we’ll use:
//p[@class=”blogcat”]/a
To test the XPath, we’ll use XPath Helper from the Chrome Extension store. This is a free tool that allows you to test your XPath expressions in real time, highlighting matching nodes as you type. Here you can see that our expression works:

I’ve also written XPath expressions for author and published date:
//p[@class=”blogmeta”]/a
//p[@class=’blogmeta’]/text()[2]
Once again, test these thoroughly on a wide variety of page types.
Obviously every website is different, and so the approach you take to define the content attributes you need is going to vary massively depending on your CMS, theme, front-end library, and so on. It might be conveniently tagged with an ID, or it might be contained within Schema markup. The principle, however, remains the same: define the attributes you need in a machine-readable language.
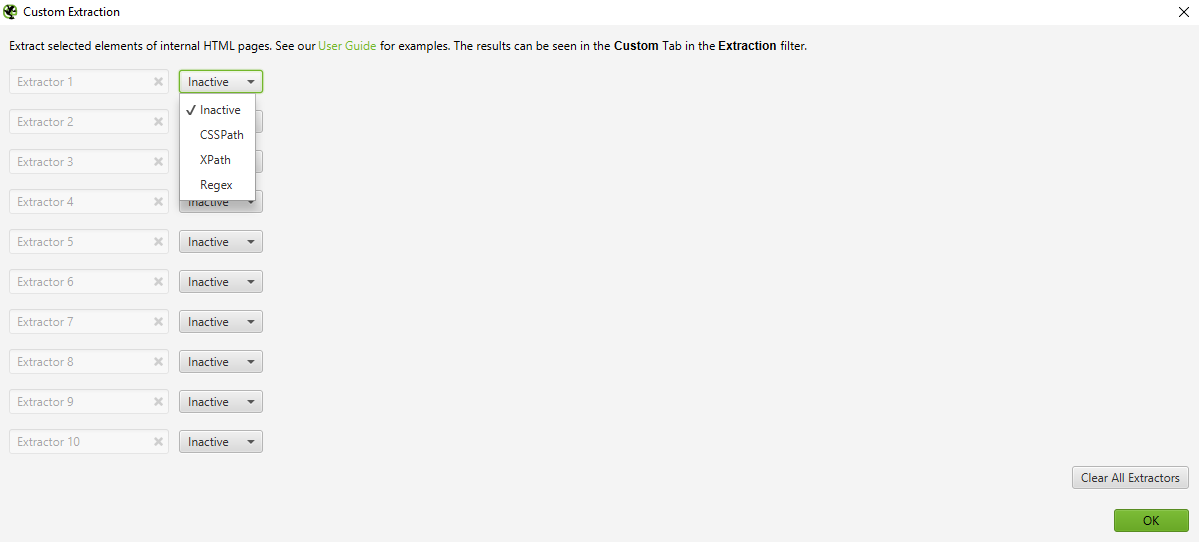
Configure the Frog
Next, we need to set up Custom Extraction rules in Screaming Frog. To do this you need to go to Configuration > Custom > Extraction. You might also want to set up inclusion rules (Configuration > Include) to crawl only certain parts of the website, and adjust the speed as required.
Hit Start, then see what happens! Once the frog gets going, it’s worth pausing to check that all the extractions are working as expected. If not, cancel the crawl, update your expressions, and repeat till you’re happy with the data you’re collecting.
Matching the data together
There are a few different ways to connect your new dataset with Google Analytics, I will be touching on three methods that I have used in the past.
The first option is to use the Google Analytics API within Screaming Frog which will give you the GA data directly in the crawl, saving you from a manual task. The downside to this approach is if you have a messy URL structure with many hashes and parameters, it could cause numbers to be lower as Screaming Frog uses exact match when pairing with GA.
Your second option is to export the data you require directly from Google Analytics. You can then match with your Screaming Frog crawl in Excel using VLOOKUP. This option gives you the ability to clean up the data export before matching it to your new dimensions.
The final option is to use this data in Data Studio. To do this, you need to copy the Screaming Frog export to a Google Sheet. This can then be set up as a new data source in Data Studio using the Google Sheets connector. Once you have connected the Google Sheet to Data Studio, you are able to blend the Screaming Frog crawl to Google Analytics using the Data Blending option. This method gives you the flexibility of changing the metrics you want to look at, apply different segments, and produce a deeper level of insights.
I have used Screaming Frog as an example, but a similar outcome can also be achieved directly in Google Sheets using the IMPORTXML function to scrape the data using XPath expressions. The only downside to this option is that it requires you to have a list of the URLs you want to crawl. This can be pulled from Google Analytics, however pages that have had no traffic won’t be part of the analysis. Another downside is that when crawling large websites, Google Sheets tends to struggle.
Whichever approach you choose to take, the ability to scrape data from a website and match it up in Google Analytics is an excellent lifeline. While it’s definitely not a replacement for proper measurement planning and a robust tracking setup, it can certainly be a lifesaver when it comes to historic data.
If you’d like to talk to us about your analytics implementation or would like to discuss an initial audit, please feel free to get in touch!

Richard Baxter
Clever idea Richard, thank you! A little while ago I used a similar technique with semrush data – to combine both analytics and historical market sizing data together would be super interesting!